Tiger-striped Firebox P.4
On the modelling front, following the SWIFU coat, I fixed a few blemishes and attached the pilot's and observer's canopies. Masked them and a bit of filler added to aid in blending them in.
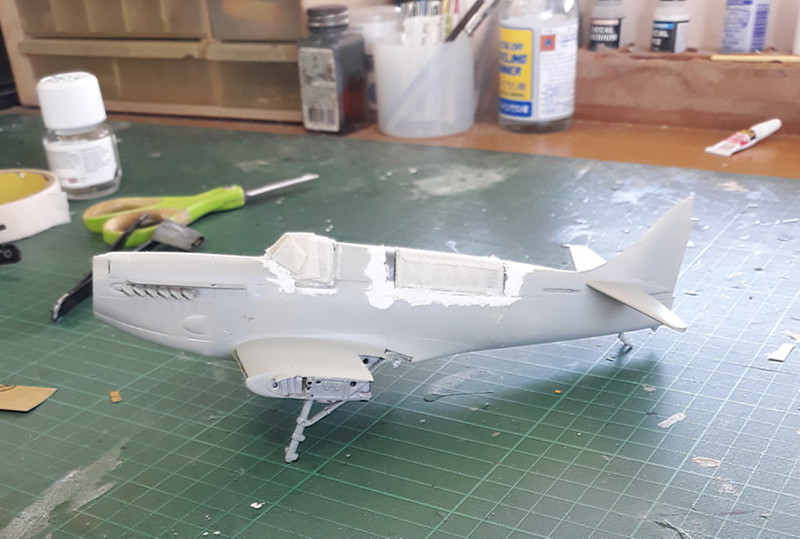
After sanding down the filler, second WIFU coat applied and masks removed. Fairly happy with the result.
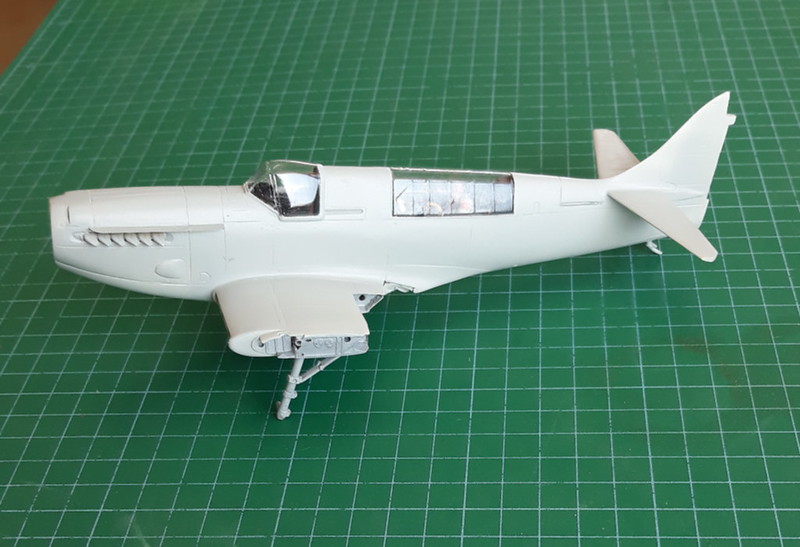
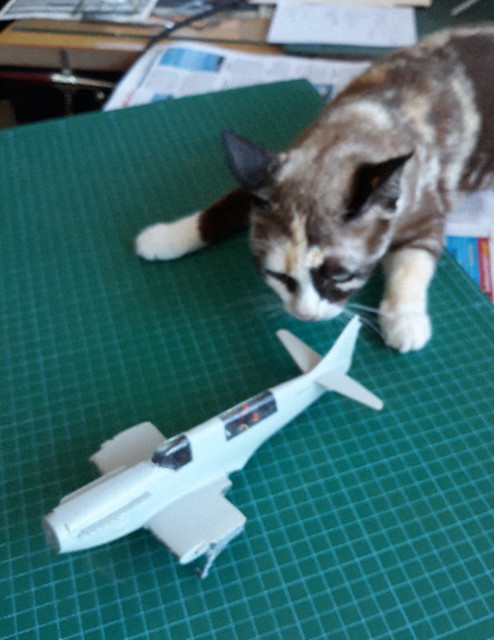
The fuselage was then sent to the inspection department for scrutiny by a specialist. It passed the prod test but failed the sniff test.
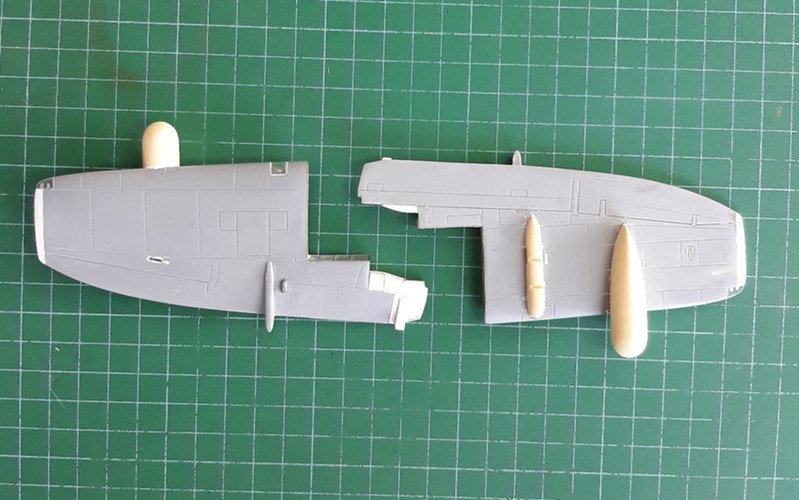
Next step was to do some further work on the outer wings to get them up to the painting stage.
- Landing light fitted. After I did the cutting, I made the lamp from scrap clear sprue. The fairing was a modified piece obtained from the spares box, (Fairey Battle, I think).
- Nav and formation lights fitted at wing tips. These were done by cutting out the solid section of the kit wings and replacing them with sections of clear plastic. These had been drilled out first to represent the light bulbs. After gluing in place they were filed to shape and polished to renew their transparency. On the Firebox the outer sections of the fairings were tinted, so I will do this later with a transparent paint.
- Cut out for wing brace cleaned up.
- Under-wing tanks and and weapons pylons fitted. I did those at this stage, even though it would make the masking for painting a bit more difficult, as it was apparent that filler would be required - not easily done after painted.
- Rear view mirror, (so that the tow operator could see position of target when it was close to the A/C), fitted just inboard of the flap mechanism fairing.
- Added a bit more detail to the exposed section of the flap and corrected error I made in cutting off the outer wing sections. I stupidly followed the Airwaves instructions rather than refer to good plans, (Ian Huntley), and photos. One of these days I'll learn!!
.
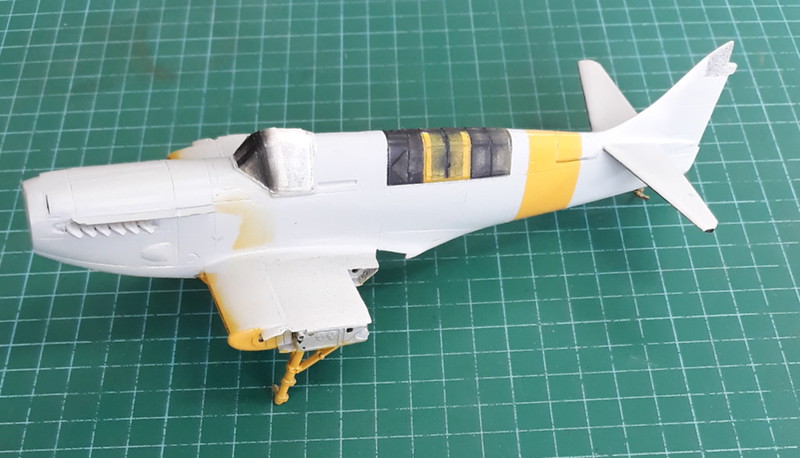
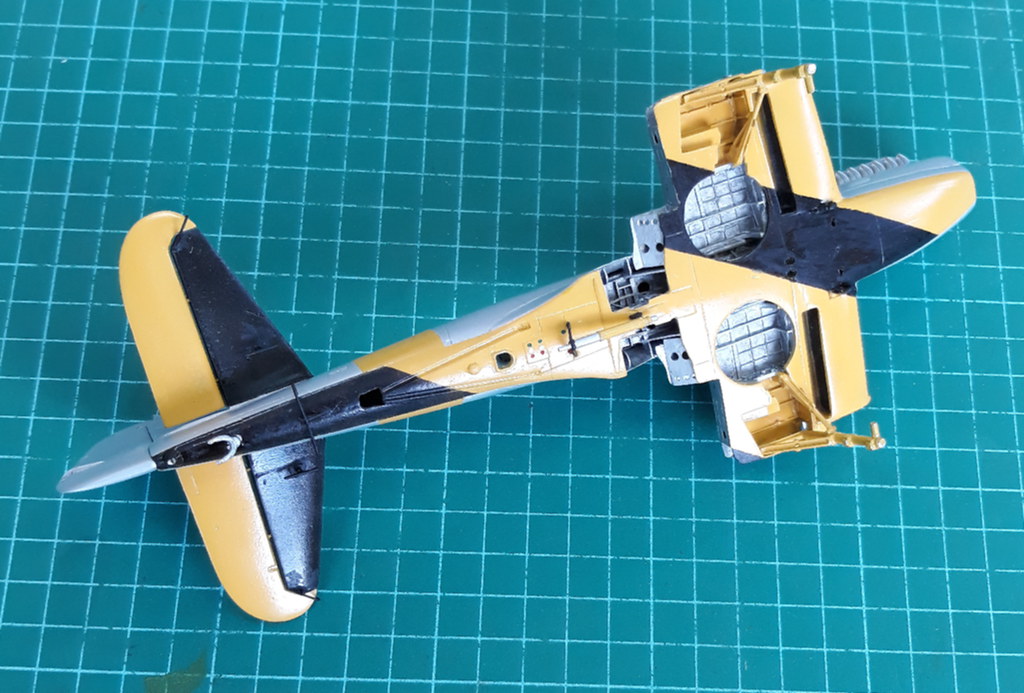
Underside TT paint now applied. I hate painting Yellow Gloss. Hard to get even and seems to take longer to dry. I'm old fashioned and still use enamels.
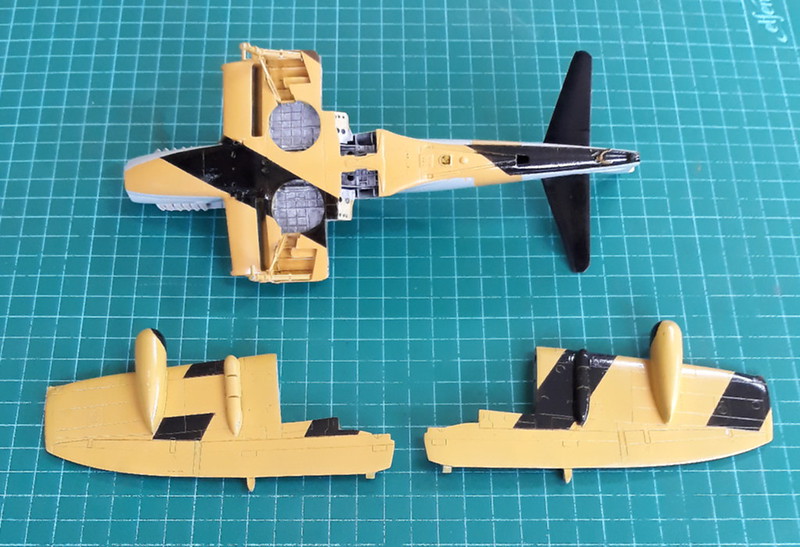
The insides of the canopies' frames were painted black, with the entry/exit hatch, and the emergency exit hatch, outlined in yellow. Being lazy, I did not attempt to paint the inside of the transparencies but, have painted the outsides. Hopefully the black and yellow will be visible through the transparency and, a good coat of aluminium paint will cover externally.
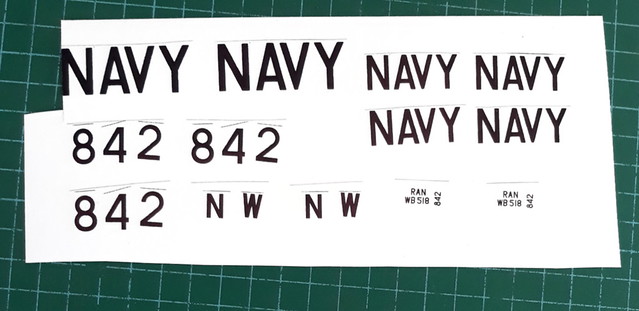
While waiting for the yellow to dry, so that I could mask for the black, I drew up and printed some decals. I have a good collection of Roo's, but lacked any that covered the "NAVY', code number and serial.
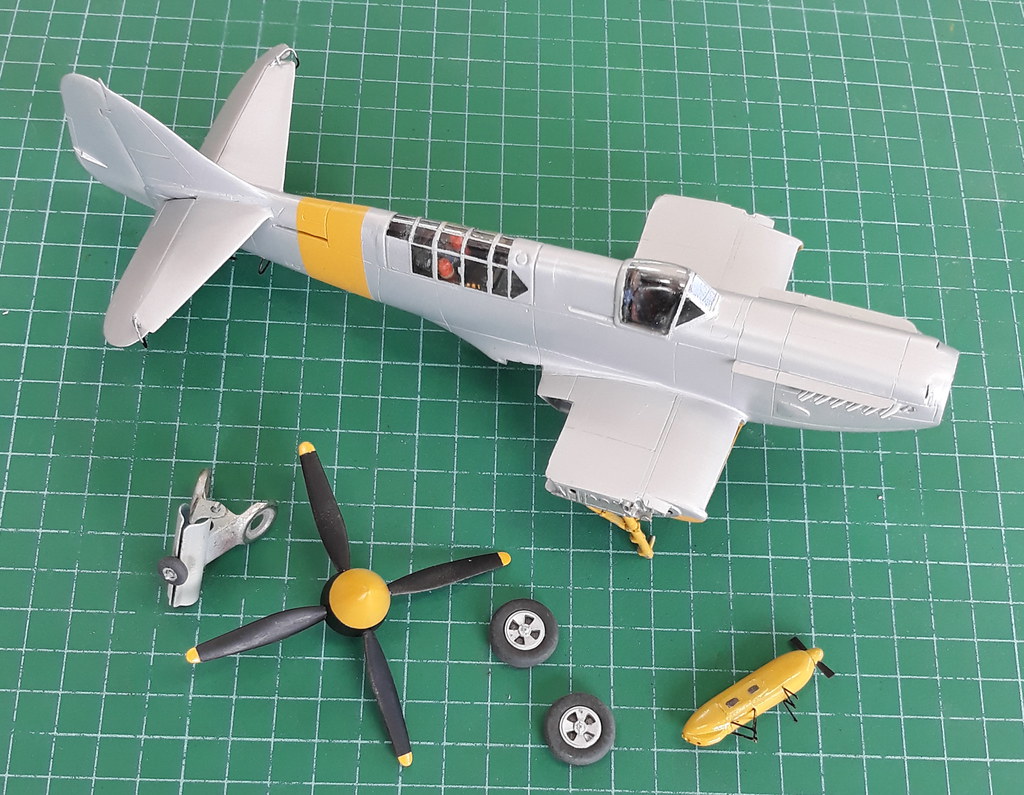
A bit more progress. The rudder and elevators have not been glued on, just hanging on their locating pins for the photo.
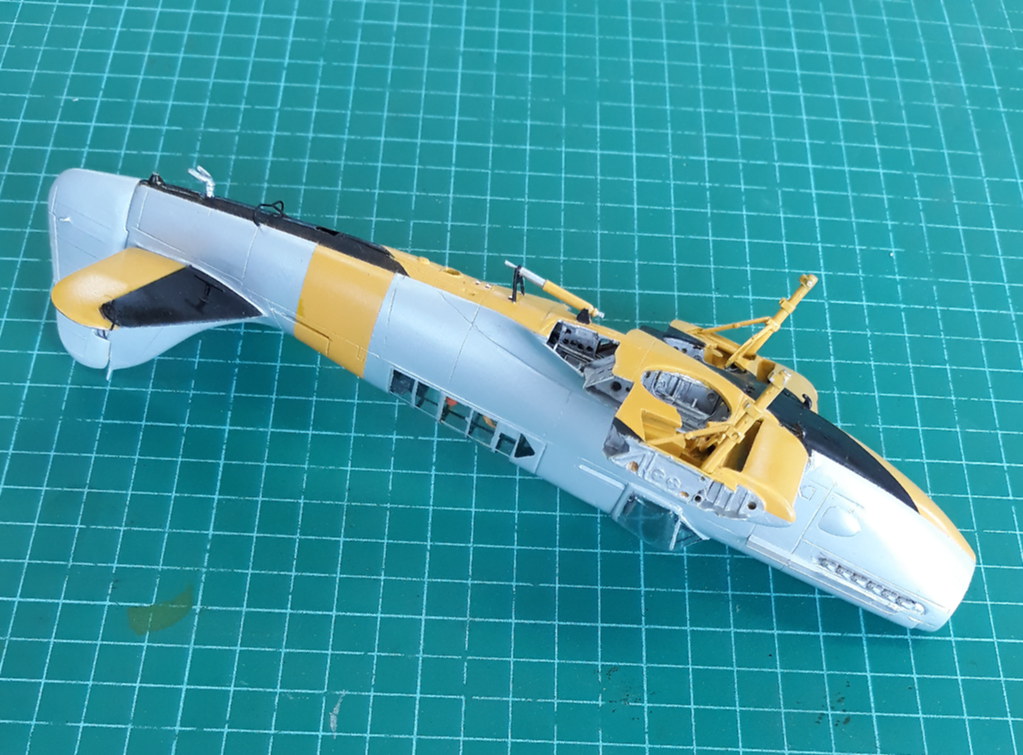
Upper surfaces have been finished in aluminium paint.
- Prop and wheels assembled and painted. The mainwheels are resin from an old Cutting Edge set for the Tempest/Sea Fury - same wheels.
- The winch unit, and buffer strut, assembled and painted. The RAN winch units had inspection windows in the port side so I added these. The buffer strut was mounted to the fuselage as its mounting is quite solid but, I have not mounted the winch unit at this stage as as its mounting framework is a bit fragile and I reckoned it would not stand my clumsy hands for very long.
- Radar altimeter antennae, (courtesy RedRoo), were fitted under the tailplane.
- I made the protective guards for the elevators from wire. A similar guard for the tail wheel was also fitted under the fuselage.
- The fitting for the wire guard that runs around the fuselage, tailplane and fin was added to the top of the fin. The tailplane fittings for this guard are incorporated in the elevator protective guards mentioned above.
- The red, white and green dots visible behind and adjacent to the rear of the buffer strut are the guides for the target lanyards. These run out of, and forward from, the launching chute to the target exchanger, which will be fitted to the tow cable at the rear of the buffer strut. the colour coding was essential to ensure that the operator did not launch the tows in the wrong order.
Click on the 'Next' button to go to Page 5 of the article